From sketch to photorealistic render in about a minute.
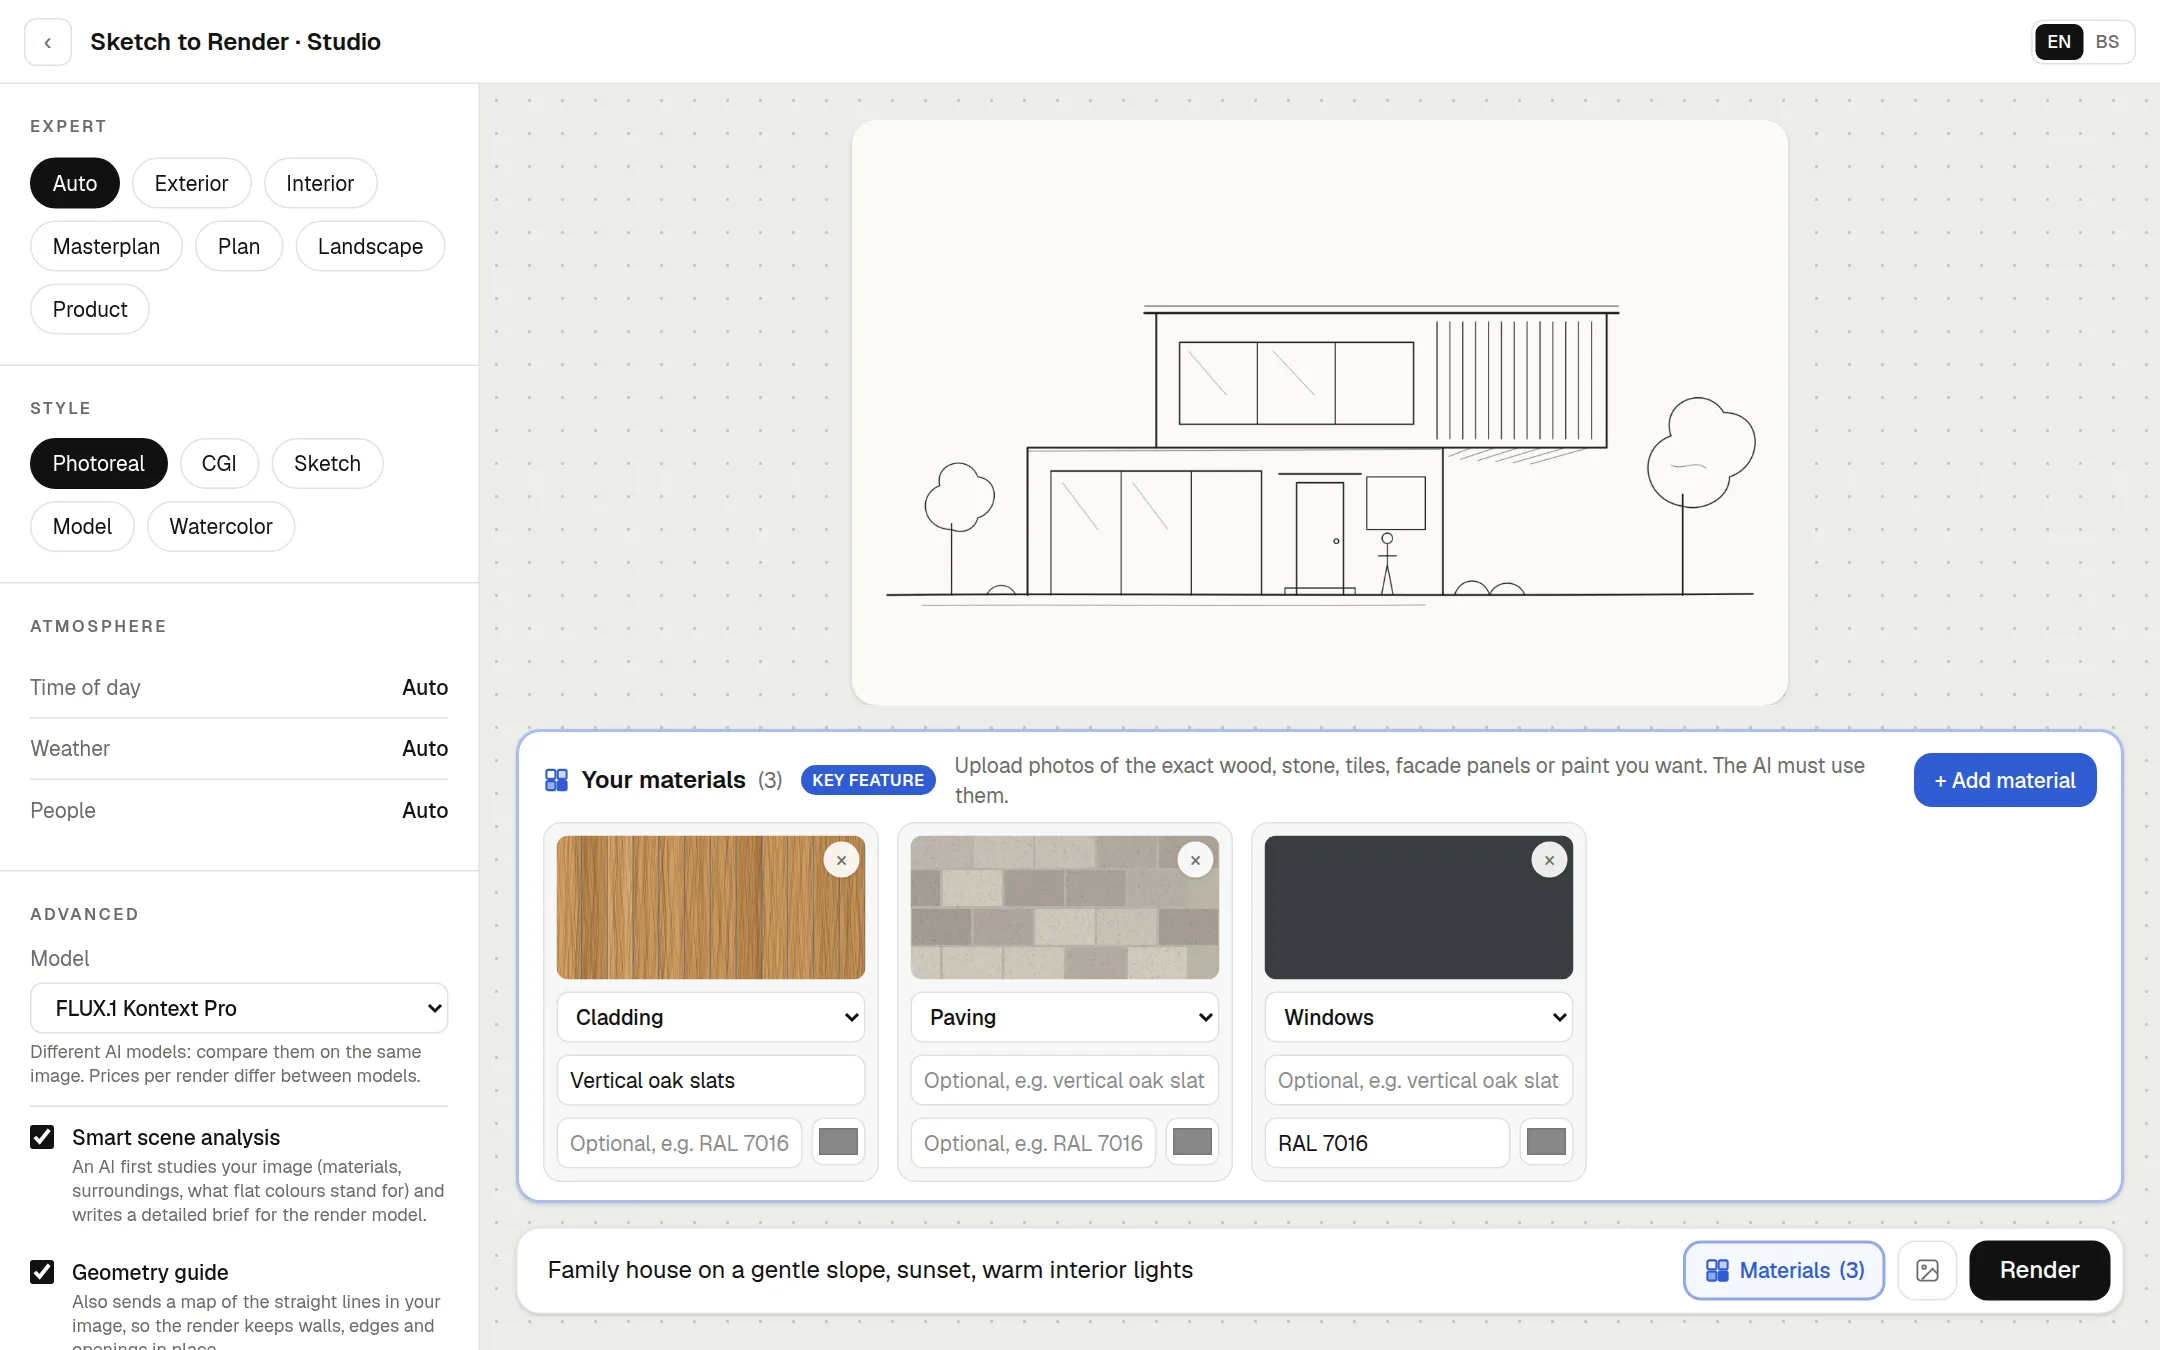
Upload a hand sketch or a screenshot from SketchUp, Revit or Rhino. Add photos of the exact materials you'll build with. Get a render that keeps your design and looks like a photograph.
10 free renders · No card · Nothing to install
Works with what you already use
- SketchUp
- Revit
- Rhino
- ArchiCAD
- Blender
- Hand sketches
A render shouldn't take two days
Skip the texture setup, lighting tests and overnight renders. Start from what you already have.
The usual way
- ×Model and texture every surface
- ×Set up lights, camera and render settings
- ×Wait hours for the render
- ×Fix it in Photoshop, then repeat for every change
With Sketch to Render
- ✓Upload a sketch or a screenshot
- ✓Add photos of your materials
- ✓Click Render
- ✓Try another variant in a minute
How it works
Three steps, no rendering skills needed
 01
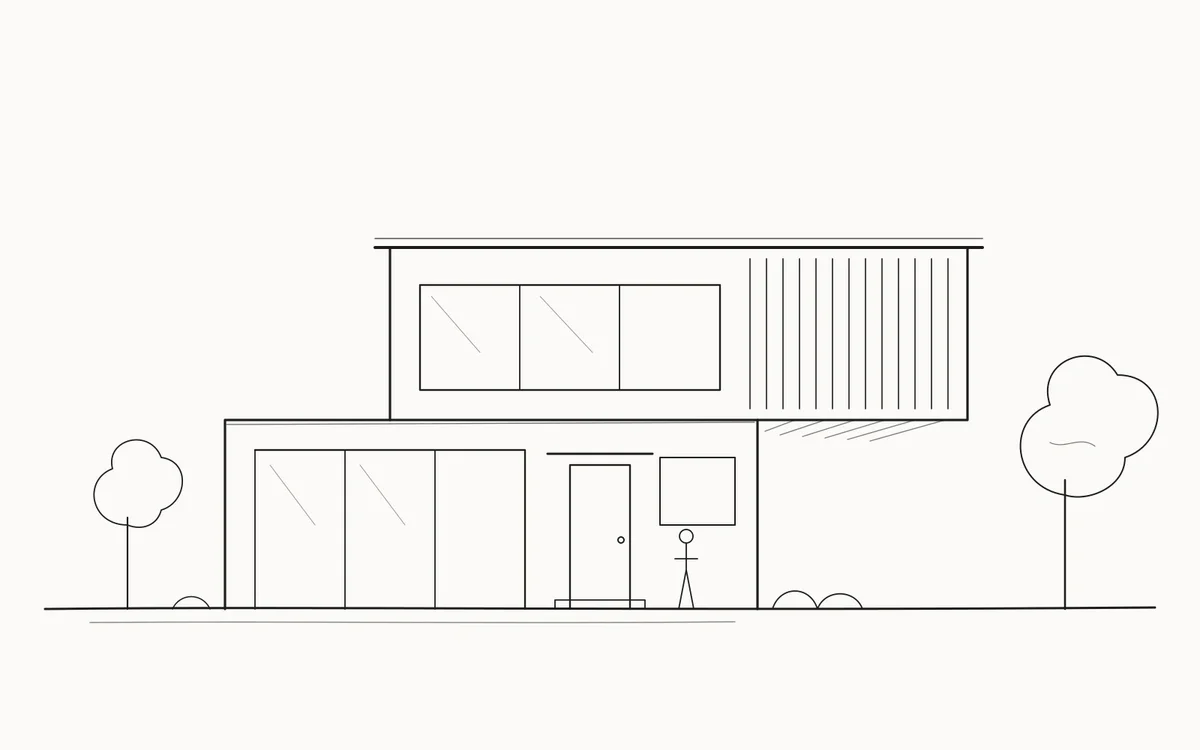
01Upload your design
A hand sketch, a line drawing or a screenshot from any 3D program. Exterior or interior.
 02
02Add your materials
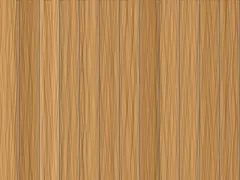
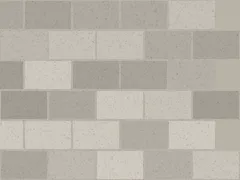
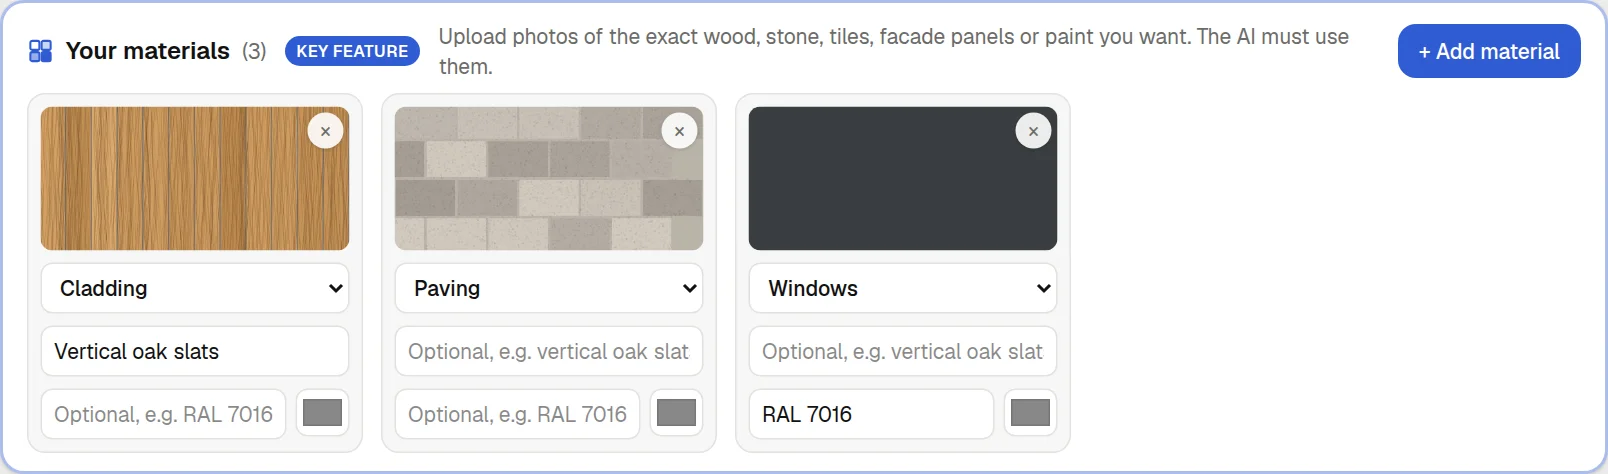
Photos of the exact wood, stone, tiles or facade panels, plus RAL colours. The AI has to use them.
What the AI understood
Two-storey family house with a cantilevered upper floor · Keep: 3 glazing panels, vertical slats, flat roof · Cladding: vertical oak slats (your photo) · Add: garden, stone path, trees
03Render
The AI studies the scene, keeps your geometry and returns a photorealistic image you can download.
What sets us apart
Your materials. Not something similar.
Most AI tools guess the materials. Here the architect decides: upload a photo of the oak cladding, the stone paving or the facade panel from your supplier, and the render has to use it, with its texture, colour and scale.
- ✓Photos of real samples: wood, stone, tiles, facade panels, fabrics
- ✓RAL codes are translated into exact colours
- ✓Assign each material to an element: facade, roof, windows, floor…
Built for architecture, not for pretty pictures
Smart scene analysis
Before rendering, the AI reads your image: what it shows, what must not change and what flat colours stand for.
Your geometry stays
Walls, openings, proportions and camera angle stay where you drew them. A line map guides the render.
Believable surroundings
A green plane becomes a garden with paths, hedges and trees, not an endless lawn.
Styles and atmosphere
Photoreal, CGI, sketch, physical model or watercolour. Morning, golden hour, dusk or night.
Before and after
Compare the render with your input in one click and download it in high resolution.
All your renders in one place
Every render is saved to your account, ready for the next client meeting.
Who it's for
Architects and studios
Show clients a convincing image in the concept phase, before a single texture is set up.
Investors and sales
Visuals for listings and brochures while the building is still on paper.
Students
Present your studio project like a professional, without a rendering farm.
Questions
Do I need to install anything?+
No. Everything runs in the browser. Take a screenshot in your program and upload it.
What can I upload?+
Hand sketches, line drawings, screenshots of 3D models (SketchUp, Revit, Rhino, ArchiCAD, Blender…) and photos, as PNG, JPG or WebP.
Will the AI change my design?+
It is instructed to keep geometry, proportions and camera angle, and a line map reinforces that. On very detailed images small differences are possible, which is why you always get a before/after comparison.
How much does it cost?+
Every new account gets 10 free renders. Credit packs are coming soon.
Who sees my images?+
Only you. Your images and renders are stored privately in your account. They are sent to the AI service only to create your render.
How long does a render take?+
Usually under a minute, including the scene analysis.
Your next presentation can be ready today.
Create a free account and turn your first sketch into a render in a minute.
Start free: 10 renders →No card, no installation.